JMS Publisher
JMS Publisher Node is used to post the messages to the MQs. JMS Publisher node publishes messages to any standard queue that is configured to Sterling process/server. Sterling process/server in turn picks up the messages and processes the message based on the business rules.
- Pre-condition:
Before using a JMS Publisher node in designing any task, the JMS Queue configuration must be defined.
1.1 Defining the JMS Queue Configuration:
Do the following to define the JMS Queue configuration:- Login to Jiffy.
- Navigate to Task Design -> Configurations -> JMS Queue Configuration.
- Click on the Add button to define the configuration.

The following dropdown is displayed with two options:

- Create New: Use this option to create a new JMS Queue configuration.
Do the following to add new configuration:- Click on the Create New button to display the display the Add JMS Queue Configuration window.
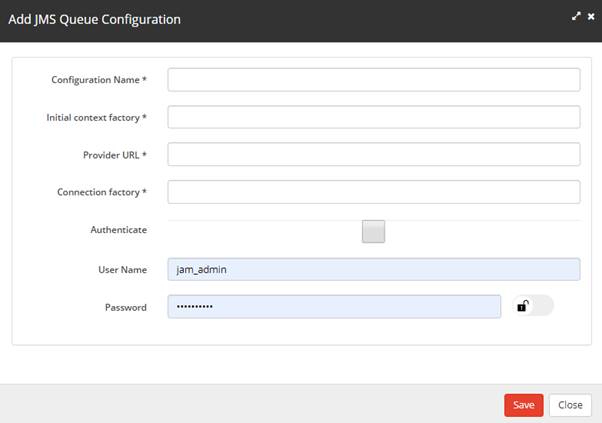
Specify the details for the following fields:- Configuration Name: Name to be provided for the configuration and the specified name is used in the Properties section of the node.
- Initial context factory: Context factory object name provided by client.
- Protocol URL: Queue URL provided by the client.
- Connection factory: Connection factory object name provided by the client.
- Username: Username, if authentication required provided by the client.
- Password: password. The password can be normal/secure vault/Cyber ark.
- Click on the Save button.
- Click on the Create New button to display the display the Add JMS Queue Configuration window.
- Copy Existing: Use this option to copy from the existing configurations that are defined earlier.
- Click on the Copy Existing button to display the Copy Configuration window.
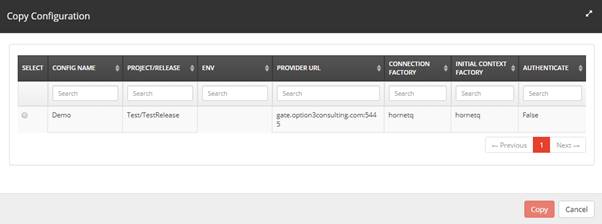
- Type the details of the required configuration in the above Search fields.
- Select the required configuration from the filtered list.
- Click on the Copy button.
- Click on the Copy Existing button to display the Copy Configuration window.
- Create New: Use this option to create a new JMS Queue configuration.
- Designing a Task Using a JMS Publisher Node:
Do the following to use an JMS Publisher node in a task:
- Use an existing task or create a new task based on the requirement.
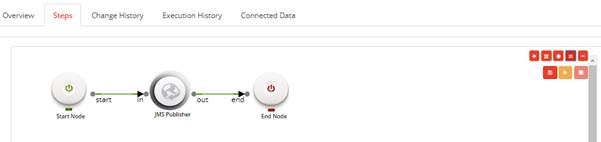
Note: Refer Create A Task for more details on how to create a task and how to open an existing task. - Drag and drop the JMS Publisher node from the Objects -> Sterling Components section and connect the nodes.
- Click on the JMS Publisher node and specify the properties:
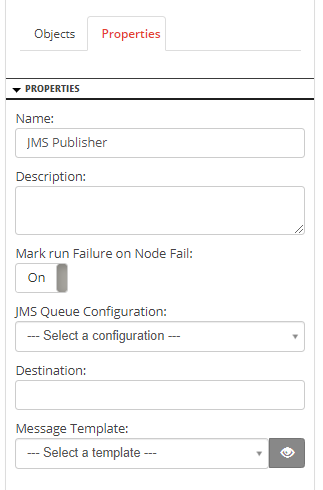
- Name: Name of the node. A default name is displayed in this field, which the user can edit according to the task and the intent of using the node.
- Description: A short note on the purpose of the node.
- Mark run Failure on Node Fail: When the Mark run Failure on Node Fail field is ON, if the node execution fails then the complete task execution is marked as fail.
- Run with User config?: This is used to run the node if any user-level configuration is defined for.
- Destination: Queue Name where the message is to be put or fetch from.
- JMS Queue Configuration: The configuration of the release/environment level where you want to run the task case. The task will get the release level configuration from the design run and the environment level configuration from the execution run. For more details on how to add a configuration, click here.
- Message template: Select the template in the dropdown below. Template will be added in the data template repository before selecting in the dropdown.
- Click on the Trial Run icon to run the task.
- Click on the Book icon above the JMS Publisher node to display the Result of execution window of the JMS Publisher node.
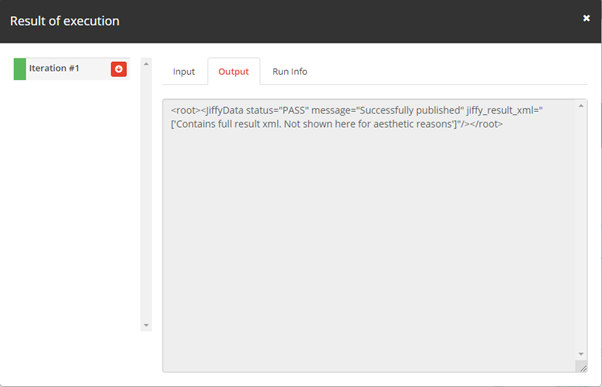
- Use an existing task or create a new task based on the requirement.