Login and Logoff
Login node and log off node are the UI nodes which are used to login to the machine automatically, start the jiffy service on the machine provided on the node and log off from the machine respectively.
- Uses:
- Login & Log-off node is used to login to the Remote desktop machine without any manual intervention to execute the task and logoff from Remote desktop machine after the task execution.
- This allows the user to bring up the machine only during execution and bring it down after the execution is completed without any manual intervention.
- This will act as a virtual user logging in to the respective machine.
- Pre-condition:
Before using the login & logoff nodes in the jiffy task, make sure that valid user credentials are provided during the machine configuration (Machines Section in the Bots drop-down).
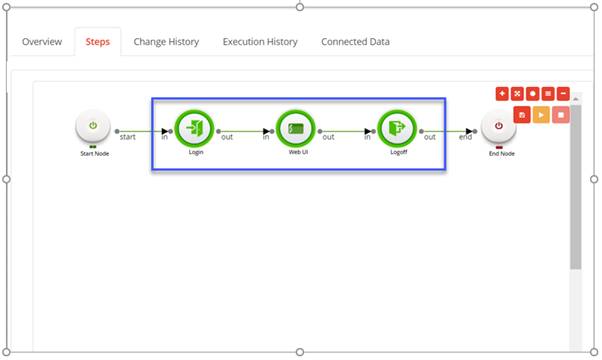
- Designing a Task Using a Login & Logoff Node:
- Use an existing task or create a new task based on the requirement.
Note: Refer Create A Task for more details on how to create a task and how to open an existing task. - Drag and drop the Login & Logoff nodes from the Objects -> Data Sources section and connect the nodes.
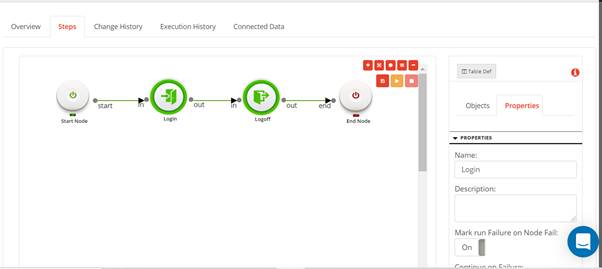
- Specify the properties of the DB node:
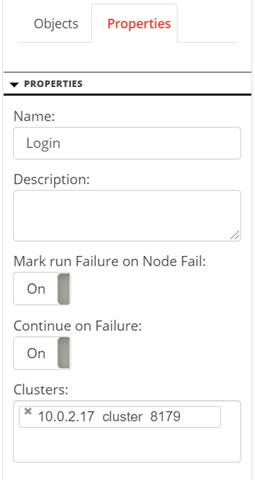
Add the following details:- Name: Name of the node. A default name is displayed in this field, which the user can edit according to the task and the intent of using the node.
- Description: A short note on the purpose of the node.
- Mark run Failure on Node Fail: When the Mark run Failure on Node Fail field is ON, if the node execution fails then the complete task execution is marked as fail.
- Run with User config?: This functionality is now deprecated.
- Continue on no result?: When Continue on no result? field is ON, the task execution continues even when the database query returns no results. When Continue on no result? field is OFF,if the node fails, the execution will not continue to the next node.
- Clusters: User can add cluster/s in this field, under which the required machine/group of machines is present with the necessary data.
Note: When multiple machines are grouped under the cluster, the login node will log in to all the machines of the cluster and the log off node will log off from all the machines of the cluster.
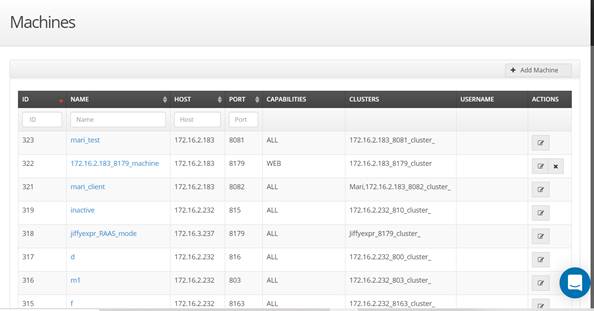
- 3.1 Adding User credentials to a Machine in the Cluster The user can view machine or group of machines in a cluster from the Machines Section in the Bots drop-down.
- Navigate to Bots -> Machines.
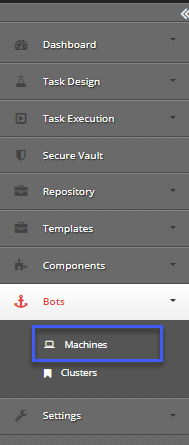
- Click on the specific machine/machines which are added to the cluster/s.
- Inside the specific machine/s, give valid username and password which is used to login to the machine.
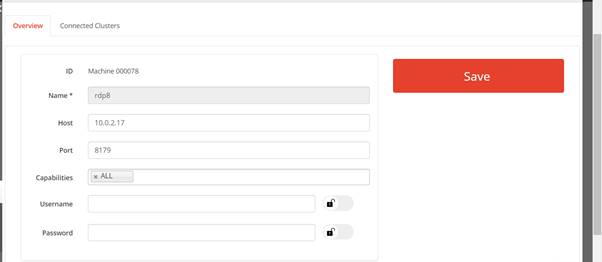
- User can provide username and password in the Username and Password field as 3 different types:
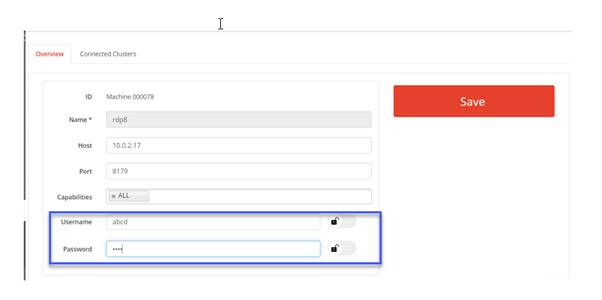
- i. Normal Username and Password:
Type the username and password and click on the Save button.
- ii. Username and Password in “Secured Format” using Secure Vault data:
Click and drag the Unlock option to the right side to view a Search icon.
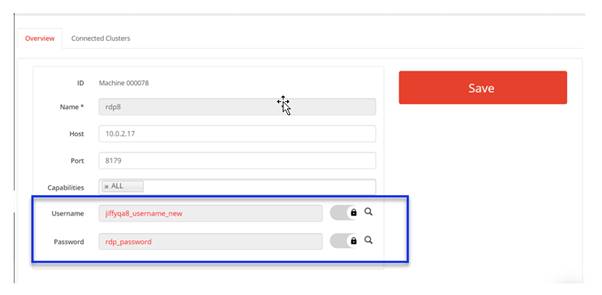
Note: When the Search icon is clicked, the secure keys available for use are displayed in the Search dialog box. For more details on how to add secure keys, click here. - iii. Username and password in “Secured format” using “CyberArk data”
Click and drag the Unlock option to the right side to view a Search icon.
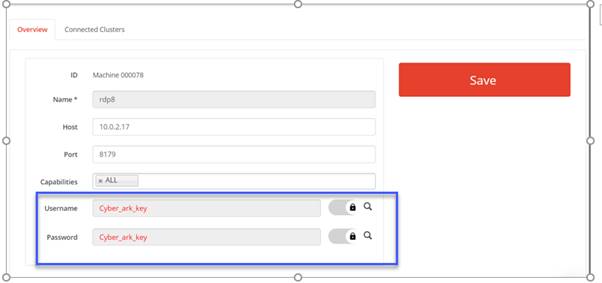
Note: When the Search icon is clicked, the CyberArk keys available for use are displayed in the Search dialog box. For more details on how to add secure keys that are CyberArk enabled, click here.
- i. Normal Username and Password:
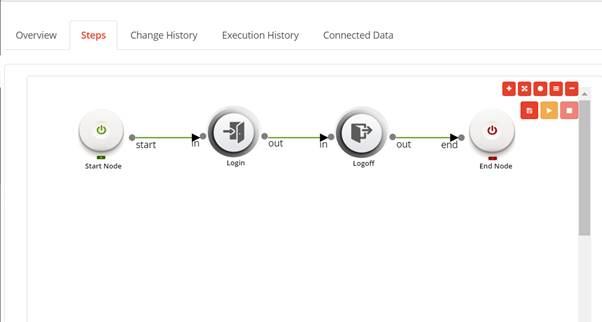
- Click on the Trail Runbutton.

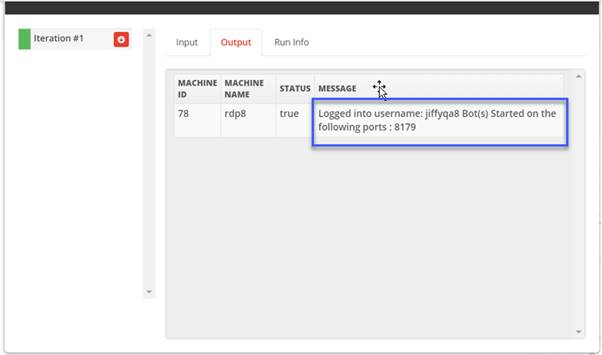
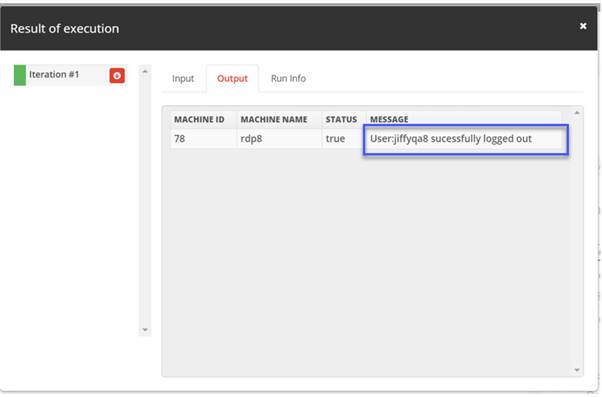
- After successful completion of execution, the login and the log off nodes turns green and the execution data is displayed in the Output tab of the Result of execution dialog box. (Click on the Book icon to view the Result of execution dialog box.)
- For login node the output message is of the following format.
- For log off node the output message is of the following format.
- Use an existing task or create a new task based on the requirement.
- Troubleshooting:
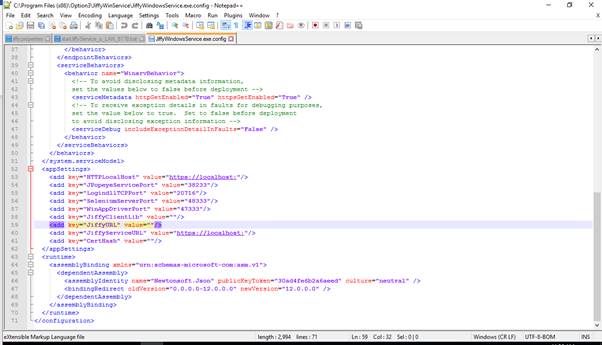
When secured username and password are provided as machine credentials, the user must ensure the JiffyURL in the configuration file of jiffy windows service is valid.
In case it is not, do the following:
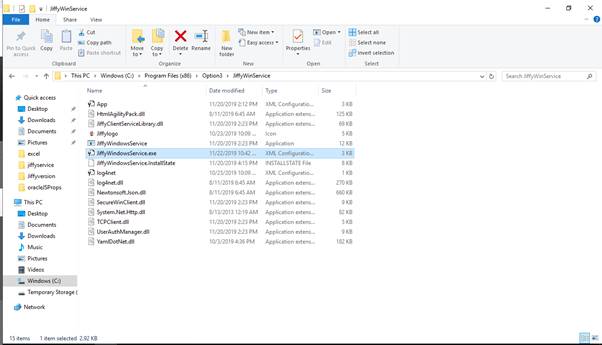
- Go to the configuration file in the below path:
C:\Program Files (x86)\Option3\JiffyWinService\JiffyWindowsService.exe.config
- In the configuration file, correct the JiffyURL to point to the Jiffy Server where the task is running.
- Restart the client machine.
- Go to the configuration file in the below path:
- Use Cases of Login & Logoff Node:
The user can use the login node and the log off node in a task in the following scenario:
- Single task: User can design a task using login and log off node in the same task when a single task is executed in the RDP.
- Multiple Tasks: When there are multiple tasks to be executed, as a best practice, design the login and log off nodes as separate tasks.
When a task is executed, the login node starts the jiffy service on the provided cluster, executes the task and the log off node stops the jiffy service and the consecutive machine logs off successfully.