Client
Jiffy Client/BOT Installation on Windows:
Requirements:
Supported Operating System Versions:
The following OS versions are supported:
- Windows 10
- Windows Server 2012
- Windows Server 2012 R2
Pre-conditions:
- Make sure that the Jiffy server is installed and the BOT machine is configured on the page before installing the windows BOT.
- The windows machine should be new with no software pre-installed other than what is mentioned in the below sections.
- Windows should have the latest OS (Operating System) updates installed (Run a Windows OS update before installing Jiffy BOT)
- Administrator access is required in the windows machine.
- Antivirus should not block jiffy software from running.
-
The BOT user should have read/write access to the following folders after installation is completed:
- C:\jiffyservice
- C:\Python27
- C:\Program Files (x86)\O3
- C:\Program Files (x86)\Option3
- C:\Program Files (x86)\IronPython 2.7
For further details on Hardware and Software requirements, refer - Pre-requisites for Jiffy Client/Bot Installation
Installing Jiffy Client/Jiffy BOT:
Jiffy Client/BOT is installed in two stages:
- Setting up the Jiffy Client Pre-requisites
- Setting up the Jiffy Client Bot
Setting up the Jiffy Client Pre-requisites:
- Run JiffyClientPrerequisites.exe file as an Administrator.
(Right-click on the JiffyClientPrerequisites.exe file and select “Run as Administrator” option from the menu)
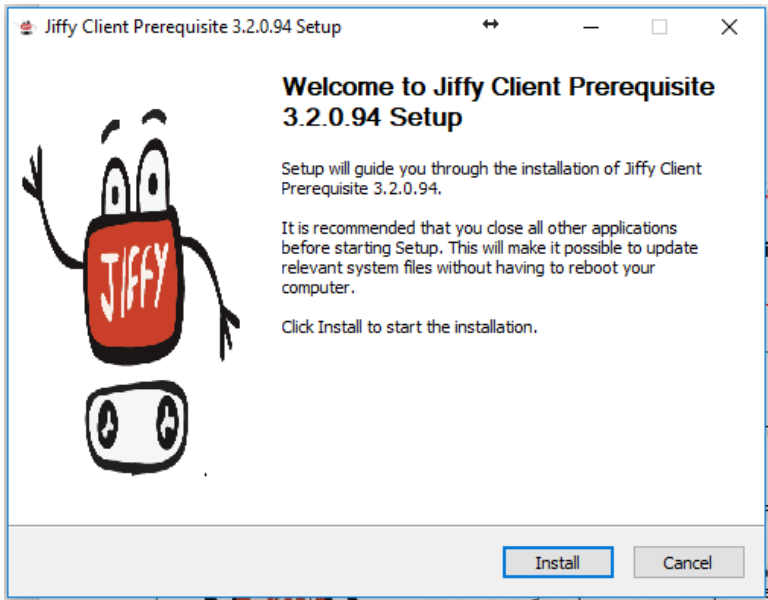
Note: The versions in the screenshots varies based on the installation version.
- Click on the Install button
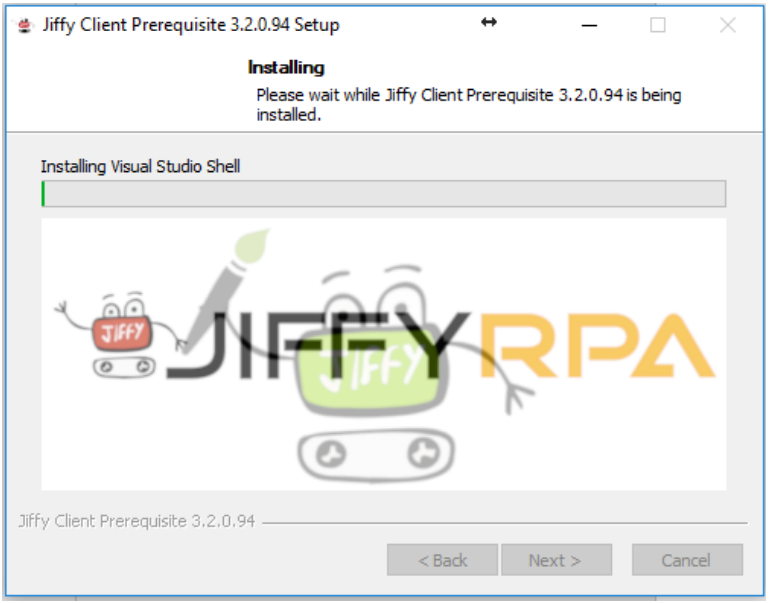
- Let the installation continue until the SharePoint installation begins.
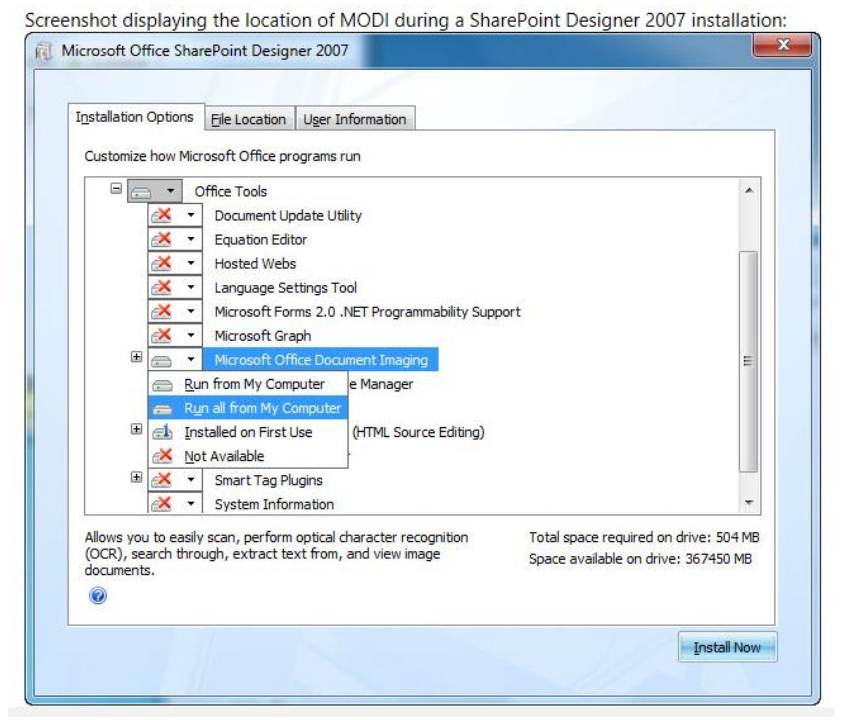
SharePoint customization:
Follow the below steps to customize SharePoint installation which reduces the disk usage.
- Review, and then accept the software license.
- Click Customize button to open the Installation Options tab.
- In the Customize how Micorsoft Office Progarms run setion, click the down arrow and select Not Available option for these three sections: Microsoft Office SharePoint Designer, Office Shared Features, Office Tools.
- Expand Office Tools.
- Click the down arrow for the Microsoft Office Document Imaging option, and then select Run all from My Computer option.
- Click Install Now button, and then click Close.
-
Click the Finish button.
Setting up the Jiffy Client:
- Run JiffyClient.exe file as an Administrator. (Right-click on the JiffyClient.exe file and select Run as Administrator option from the menu).
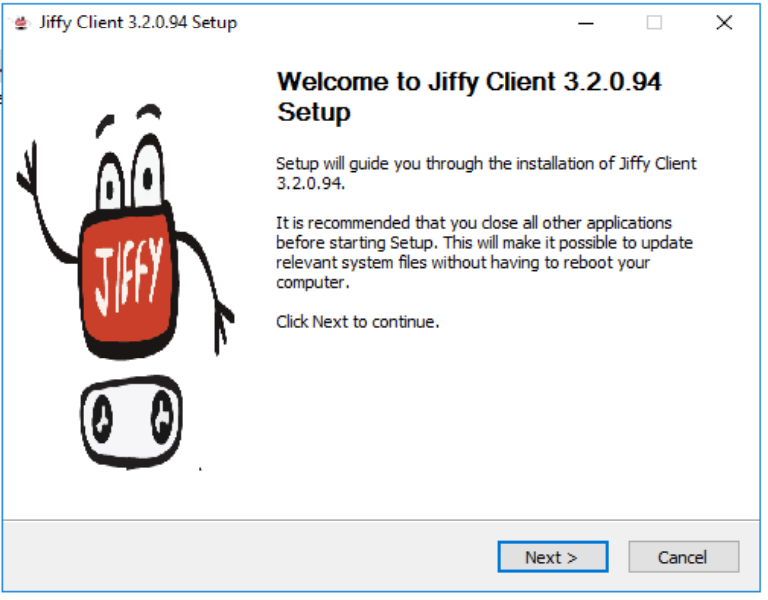
- Click on the Install button.
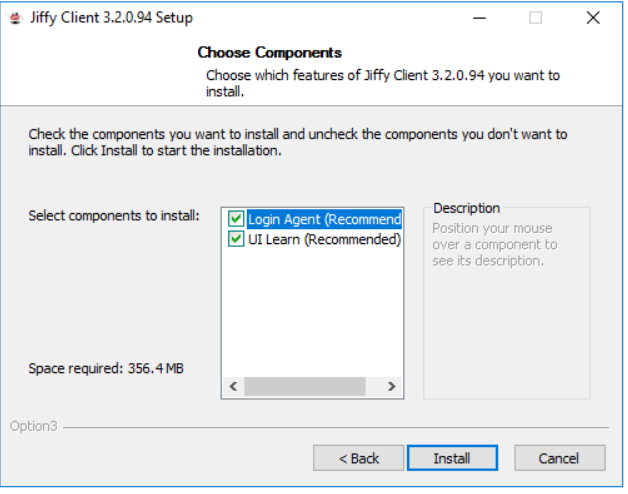
- The following window appears. Select the components to be installed.
- Let the installation continue till the last screen shows the following prompt.
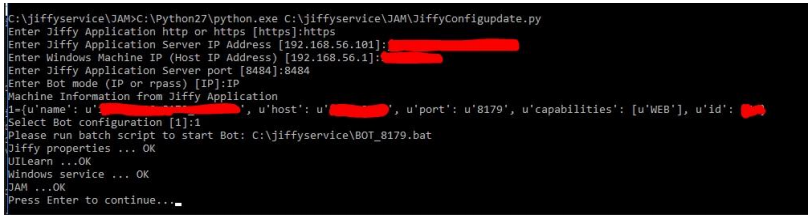
- Type the Jiffy Server IP and the Jiffy client IP (network allocated IP) when prompted.
- Press the Enter key to choose the default values.
- Press the Enter key to complete the Jiffy installation process.
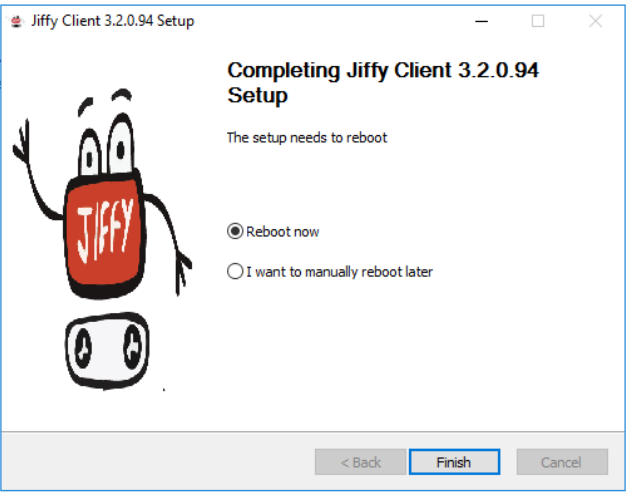
- Select the Reboot now check box or I want to manually reboot later check box based on your necessity and click on the Finish button.
Additional Configurations:
Configuring UI Learn:
- Goto C:\Program Files (x86)\O3\JiffyUILearn\JiffyUI Familiarisation.exe and open the file in Notepad as an administrator.
- Locate this tag: add key=““HostURL”” value=“”<server url>””
- Give Jiffyserver URL in the value field and save it.
Configuring Windows Services:
- Goto C:\Program Files (x86)\Option3\JiffyWinService\JiffyWinService.exe and open the file in Notepad as an administrator.
- Locate this tag: add key=““JiffyURL”” value=“”<server url>””
- Give Jiffy URL in the value field and save it.
Upgrading Jiffy Client:
Requirements:
- All instances of JiffyUILearn and Jiffy service should be stopped.
- Make sure that the pre-requisite executable (JiffyClientPrerequisites<version>.exe) is run for updating new 3.2 specific pre-requisite packages.
- If any of the packages already exists, then the default Repair option will be done internally by the installer.
Steps to upgrade Jiffy Client:
-
Download the JiffyClient
.exe file from FTP into the client desktop.
-
Run or double-click the JiffyClient
.exe file and follow instructions on the screen to upgrade Jiffy Client.
Troubleshooting:
If any issues are encountered after a client upgrade, uninstall the following entries manually from the control panel and rerun the JiffyClient exe.
- JiffyUILearn
- JiffyWinService
- JPopeye
- JiffyLoginAgent