CSV
CSV node is a data source node used when the input for a task is a CSV file.
- Designing a Task Using a CSV Node:
Do the following to use an CSV node in a task:
- Use an existing task or create a new task based on the requirement.
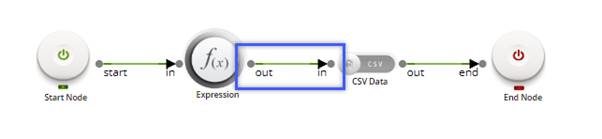
Note: Refer Create A Task for more details on how to create a task and how to open an existing task. - Drag and drop the CSV node from the Objects -> Data Sources section and connect the nodes.
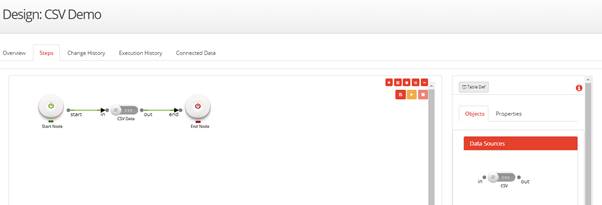
- Click on the CSV node and specify the properties:
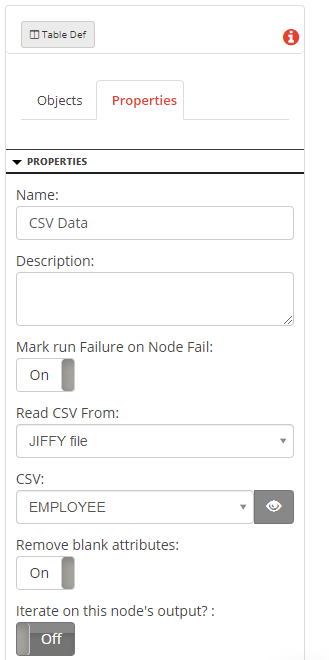
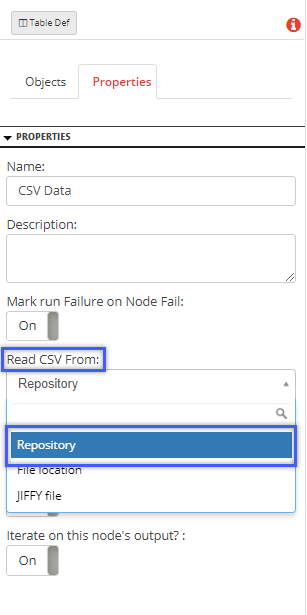
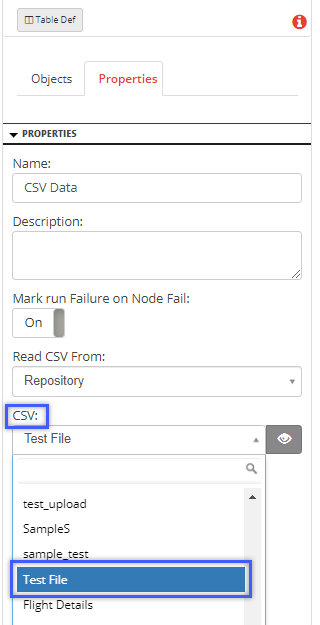
- Name: Name of the node. A default name is displayed in this field, which the user can edit according to the task and the intent of using the node.
- Description: A short note on the purpose of the node.
- Mark run Failure on Node Fail: When the Mark run Failure on Node Fail field is ON, if the node execution fails then the complete task execution is marked as fail.
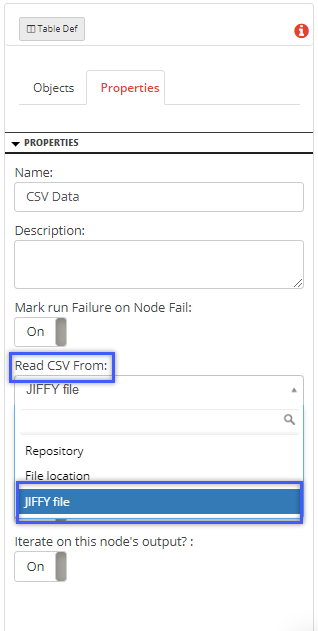
- Read CSV From: It has three options to choose from which the file must be read:
- Jiffy File: The Jiffy File option allows the user to access the file from the Jiffy file server.
- Repository: The Repository option allows the user to select the CSV file that is in the Jiffy Repository.
- File Location: The File Location: functionality is now deprecated. Refer Sources to Select the CSV File for more details.
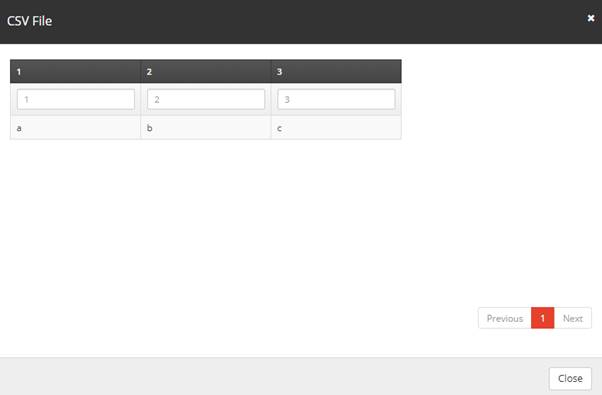
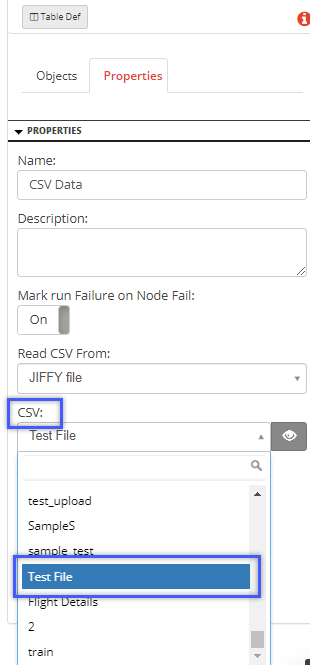
- CSV: Name of the CSV file to choose from the selected source in the Read CSV From:. Click the eye symbol in the CSV field to show the CSV data in the selected file.
- Remove blank attributes: When this is turned ON, it removes all the blank attributes in the selected CSV file.
- Iterate on this node’s output?: When this is turned ON, the task will iterate on the CSV node’s output.
- Click on the Trial Run icon to run the task.
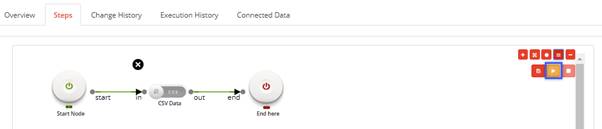
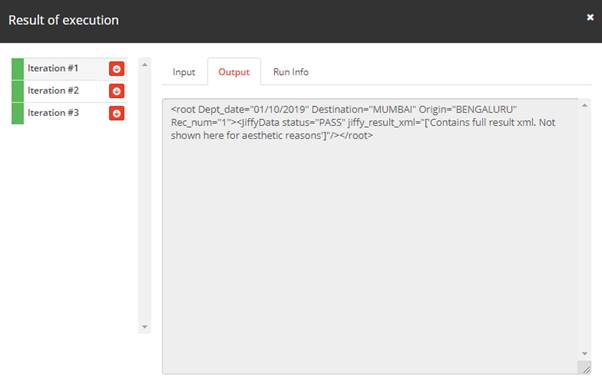
- Click on the Book icon above the CSV Data node to display the Result of execution window of the CSV Data node.
- Use an existing task or create a new task based on the requirement.
- Sources to Select the CSV File:
The user can select a CSV file as an input to a task from three different sources:
- 2.1 JIFFY file:
The Jiffy file option allows the user to access the file from the Jiffy file server. This option is recommended for the type of CSV files that change dynamically, for example, a daily transaction file. The CSV file must be available in the Jiffy file server to use this option.
Do the following to select a CSV file from file server,- Select the Jiffy file option from the Read CSV From dropdown.
- Select the CSV file from the CSV dropdown.
Note: The CSV file selected in the drop down is from the Repository. This is used to define the structure of the data in the file that has been read from the Jiffy file option.
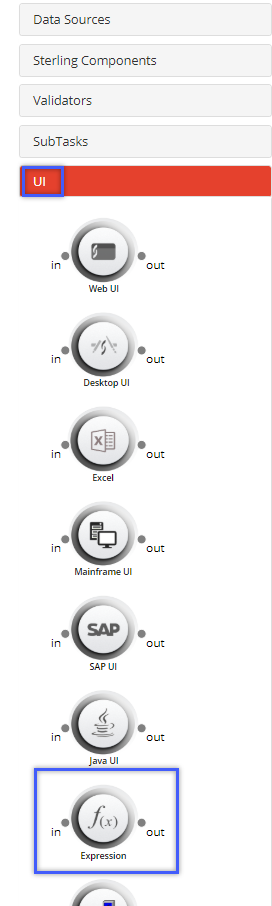
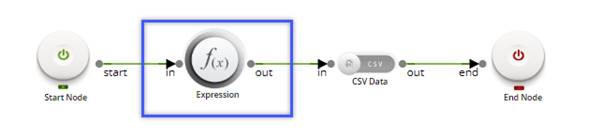
- Drag and drop a Web UI node or an Expression node from the UI section.
Note:- If the file is in a shared drive, then it has to be uploaded to the server using Expression node or any UI node.
- If the file is received in a mail, then the user must use an Email node (Email browser) to download the file. Then the File ID (FID) of the downloaded file is mapped to the CSV node.
- Insert it before the CSV Node.
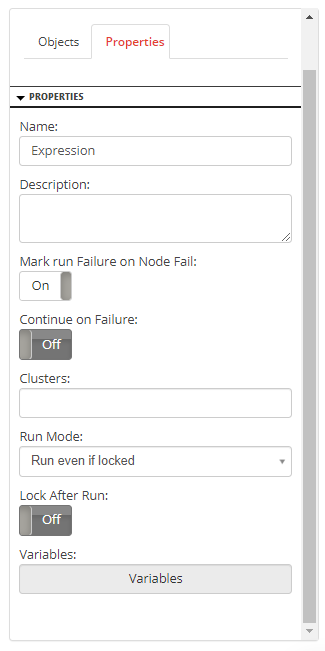
- Specify the properties of the Expression node.
Note: Refer Expression node for more details on Expression properties.
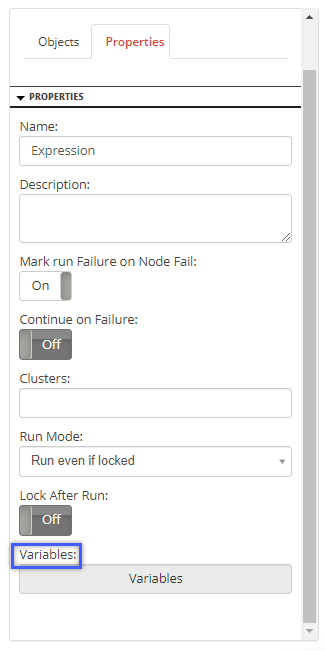
- Specify the output variables by clicking on the Variables button.
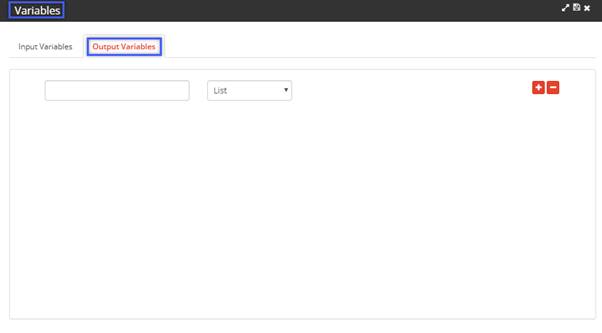
- Type the output variable in the Output Variables section of the Variables dialog box.
Note: The file ID is of the uploaded file is stored as a variable with the name that is specified as the Output Variable.
- Click on the Save button to save the data.

- Double click on the Expression node to display the Edit UI dialog box.
- Select the Default Expression option.

- Select the Upload To Server option. This will upload the file from the Bot machine to the Server and return a File ID. This ID is used by the downstream applications.

- Click on the following highlighted button beside the Upload To Server field and type the path of the CSV file to be uploaded in the file_to_upload dialog that appears.

- Select the Output variable from the following dropdown

- Click on the Save button.

- To make the necessary mappings, double-click on the arrow between the Expression node and the CSV Data node.
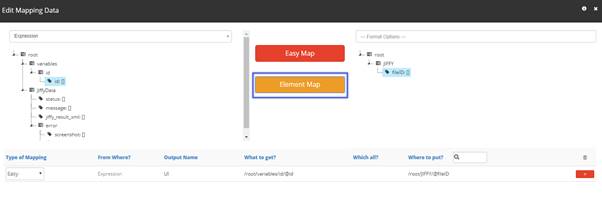
- Click on the names of the variables in both sections to map the file ID from the previous node to the CSV node.
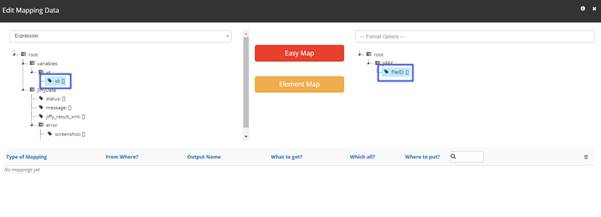
- Click on the Element Map button to complete the mapping.
- Continue with the task.
- Select the Jiffy file option from the Read CSV From dropdown.
- 2.2 File location
The File location functionality is now deprecated.
- 2.3 Repository:
The Repository option allows the user to select the CSV file that is in the Jiffy Repository. The user must use this option for master data that does not change, for example user details and lookup tables.
Note: Before selecting a CSV file from the repository, it must be added to the Jiffy repository.
Refer the Adding a CSV file to Jiffy’s Repository section for more details.- Select the Repository option from the Read CSV From dropdown.
- Select the CSV file from the CSV dropdown.
Note: All the files that are uploaded in the jiffy repository are available in the CSV dropdown.
- Continue with the task.
- Select the Repository option from the Read CSV From dropdown.
- 2.3.1 Adding a CSV file to Jiffy’s Repository:
- Log in to Jiffy application.
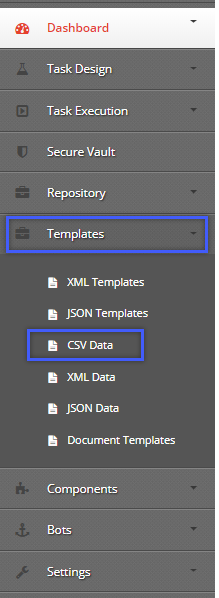
- Navigate to Templates section on the left-hand side.
- Select the CSV Data option.
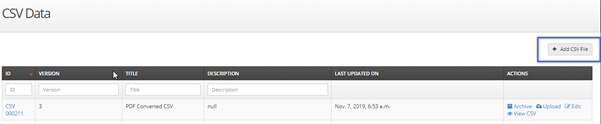
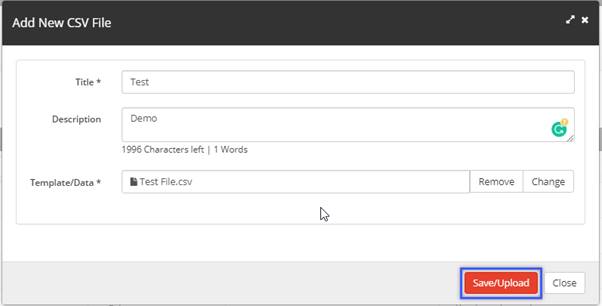
- Click on the +Add CSV File button.
- Type the details and click on the Select file button to upload the file.
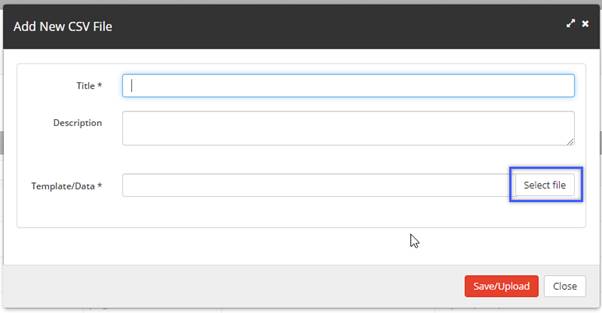
- Click on the Save/Upload button to save the file.
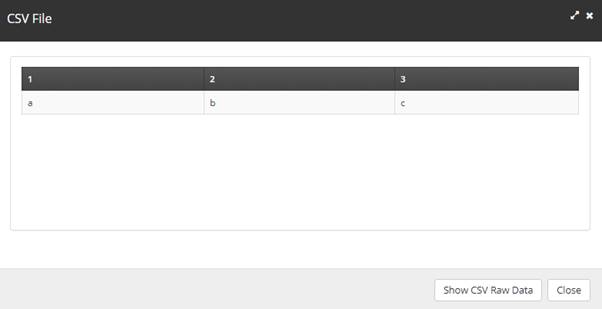
- To view the file, click on the View CSV button.

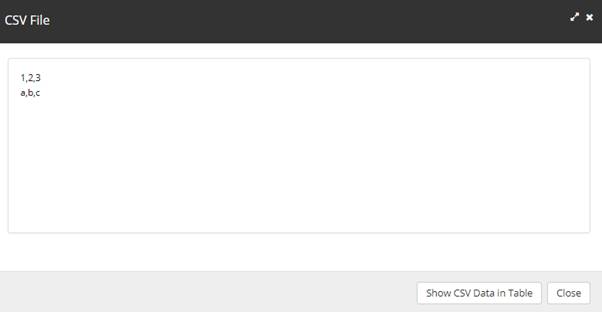
- Click on the Show CSV Raw Data button in the CSV File window to view Raw data..
- Similarly, the user can Archive, Upload, and Edit the CSV file by clicking the respective buttons.
- Open the CSV file by clicking on the ID of the respective XML file.
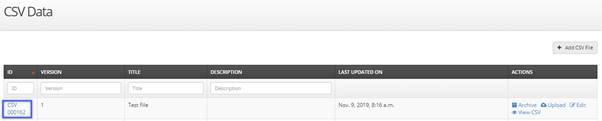
- The details of all the tasks that use this CSV file are displayed here.
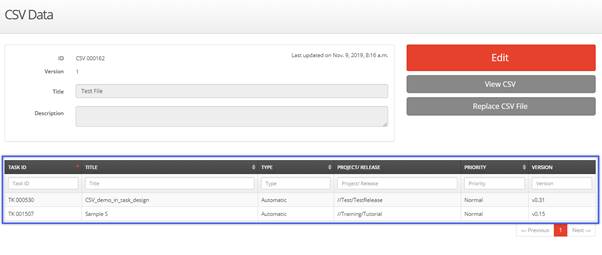
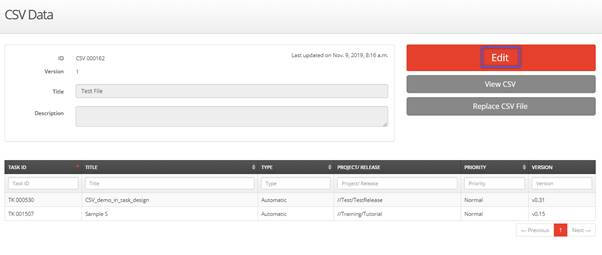
- Click on the Edit button to edit the Title and the Description of the CSV file.
- Click on the Replace CSV File button to upload a new XML file.
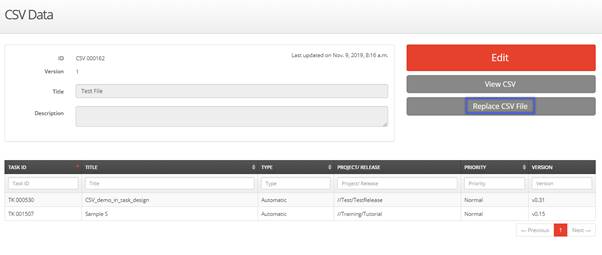
Note: When a file is modified, all the tasks that use this file will automatically get the modified file for the task execution.
- 2.1 JIFFY file:
The Jiffy file option allows the user to access the file from the Jiffy file server. This option is recommended for the type of CSV files that change dynamically, for example, a daily transaction file. The CSV file must be available in the Jiffy file server to use this option.