REST API
In Jiffy, the REST API node allows the user to include the REST web services.
- Uses:
- REST API node is used to call API’s in web applications, instead of doing web automations.
- It is faster than the web automations.
- It runs in either jiffy server or client depending on the defined configuration.
Note: If the REST API input/output contains any file-type other than JSON/XML, the REST API node cannot handle it. To handle those scenarios, use python expressions
Example: Uploading file to Docube, Downloading file from Docube.
Note: The REST API node can be used either in an existing task or a new task.
- Pre-condition:
Before using a REST API node in designing any task, the REST API configuration must be defined.
1.1 Defining REST API Configuration:
Do the following to define the REST API configuration:- Login to Jiffy.
- Navigate to Task Design -> Configurations -> REST API Configuration.
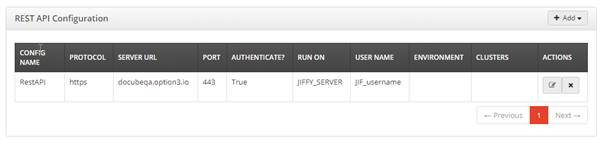
- Click on the Add button to define the configuration.
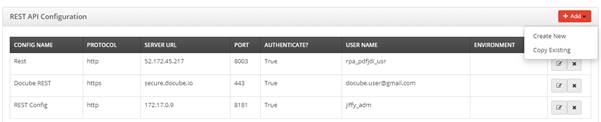
The following list box is displayed with two options:
-
Create New: Use this option to create a new REST API configuration.
Do the following to add new configuration:- Click on the Create New button to display the display the Add REST API Configuration window.
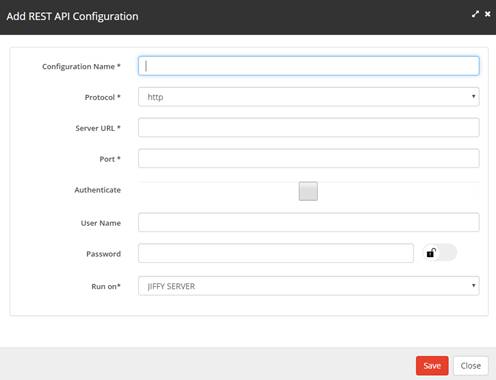
Specify the details for the following fields: - Configuration Name: Any name for identification.
- Protocol: The protocol is http or https according to the website.
- Server URL: Complete server URL for connecting to the website.
- Port: Port number of website where it is running. Use Port 80 for HTTP protocol in REST API and use Port 443 for HTTPS.
- Authenticate: It is an optional feature when a website must authenticate credentials, which are given in the configuration level.
- Username: Username for logging into the website.
- Password: Password for authentication, can be a secure key or constant. Select and drag the lock toggle button next to the password field to make it secure.
-
Run on: Specify from where the API needs to be triggered:
- Jiffy Server: API gets triggered from the jiffy server.
- Cluster: In case Jiffy server does not have internet connection or not able to access the specified website then the Cluster option can be used.
- Click on the Create New button to display the display the Add REST API Configuration window.
-
Copy Existing: Use this option to copy from the existing configurations that are defined earlier.
- Click on the Copy Existing button to display the Copy Configuration window.
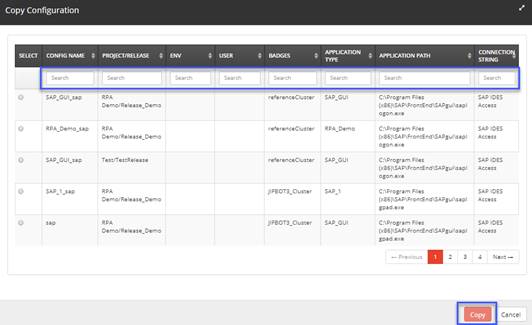
- Type the details of the required configuration in the above Search fields.
- Select the required configuration from the filtered list.
- Click on the Copy button.
- Click on the Copy Existing button to display the Copy Configuration window.
-
Create New: Use this option to create a new REST API configuration.
- Designing a Task Using a REST API Node:
- Use an existing task or create a new task based on the requirement.
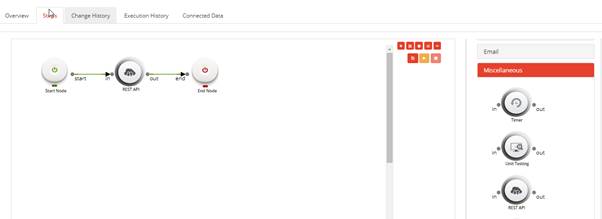
Note: Refer Create A Task for more details on how to create a task and how to open an existing task. - Drag and drop the REST API node from the Objects -> Miscellaneous section and connect the nodes.
-
Specify the properties of the REST API node:

Add the following details:- Name: Name of the node. A default name is displayed in this field, which the user can edit according to the task and the intent of using the node.
- Description: A short note on the purpose of the node.
- Continue on no result?: When Continue on no result? field is ON, the task execution continues even when the database query returns no results. When Continue on no result? field is OFF,if the node fails, the execution will not continue to the next node.
- Configuration: Select the required configuration from the Configuration list box.
Note: The configuration is pre-defined in the Configurations screen. Refer Defining REST API Configuration section for more details. -
Method: It has four options to choose the method of the REST API:
- GET
- PUT
- DELETE
- POST
- Path: The Path is a unit of a REST API that the user can call.
The variable in the provided path can be passed from any previous node.
The variable name must be passed in the format of ${}.
For example: /api/documents/pathId?path=${path}
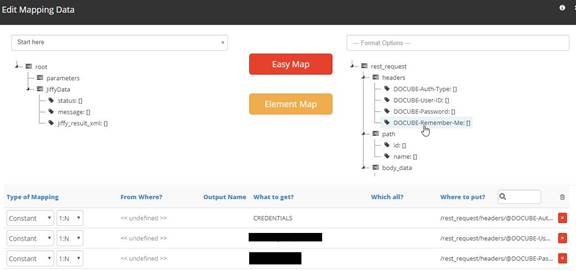
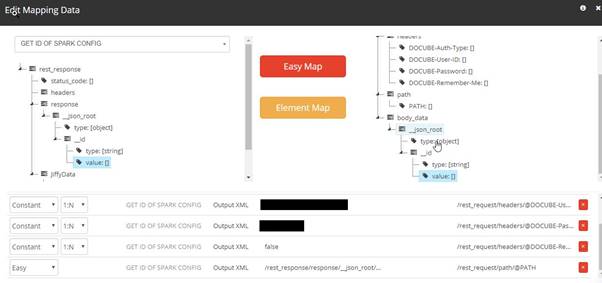
- Request Headers: Headers data for authenticating the API call. The user must give proper name and separate the given names with comma. This data is used for REST API input mapping.
Example:DOCUBE-Auth-Type,DOCUBE-User-ID,DOCUBE-Password,DOCUBE-Remember-Me
Note:The password cannot be accessed from the secure vault. The user must specify the password, or it must be passed from the previous node.
- Response Content Type: Select either JSON or XML option according to the REST API input/output.
- Input Template: Select the input template as JSON or XML according to the input format of the REST API. The structure of JSON/XML must be uploaded in Jiffy templates. Applicable only for POST and PUT methods.
- Output Template: Select the output template as JSON or XML according to the required output format of REST API. The structure of JSON/XML must be uploaded in Jiffy templates.
- Click on the Trail Runbutton.
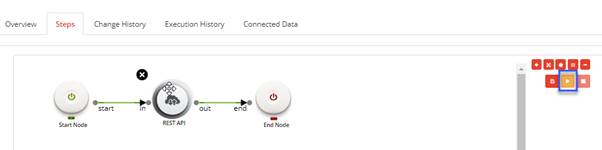
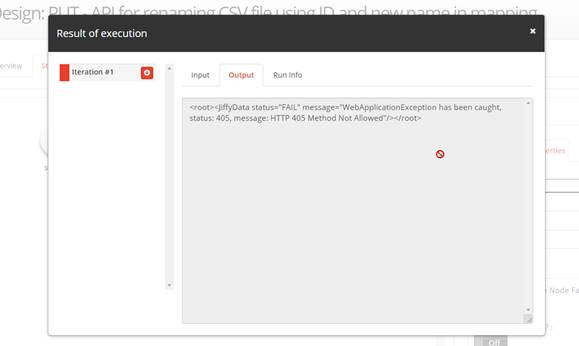
- Click on the book icon above the REST API node to display the Result of execution window of the REST API node.
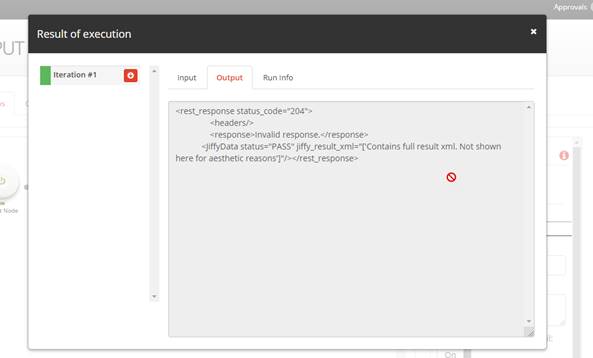
Note:If the REST API node fails to execute, then the respective error is displayed in the Result of execution window.
- If the user does not know the output format of the GET API, specify any of the XML or JSON template and then click on the Trail Run option.
-
Copy the results from the Result of execution -> Output tab, clear data, and then upload to Jiffy Templates (as XML or JSON templates).
For example:-
Select all the data from the Output tab of the Result of execution window. Use only the following data:
<__id type=“string” value=“2d086600-339e-47fb-af76-19c3aa8c4f74”/>
Upload the copied code to the Templates (XML or JSON based on the requirement.)
-
Select all the data from the Output tab of the Result of execution window. Use only the following data:
- The GET API result can be mapped to the next nodes.
Note: It is not possible to use the REST API node to update multiple DB columns. In such cases, REST API has to be used.
- Use an existing task or create a new task based on the requirement.