3. Scheduled Runs
Scheduler is a utility in Jiffy that allows the user to schedule the auto trigger of the execution of a task.
Once a task is scheduled, Jiffy executes the tasks at the scheduled time without any manual intervention.
Tasks can be scheduled to run at a particular time, daily, weekly or monthly.
- Scheduling a task:
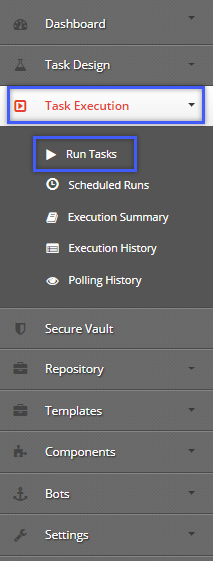
- Navigate to Task Execution > Run Task.
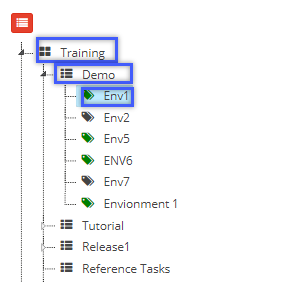
- Select the required Project > Release > Environment.
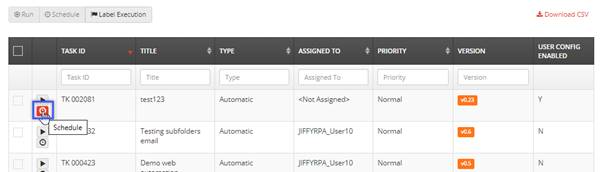
- Click on the Schedule button next to the TASK ID to select the task to schedule.
Note: The task will be listed under the environment only if it is tagged to the respective environment. Refer Environment for more details.
- The Schedule dialogue opens with an option to choose from the following types of schedulers.

- Type: For more details, refer - Types of Schedulers.
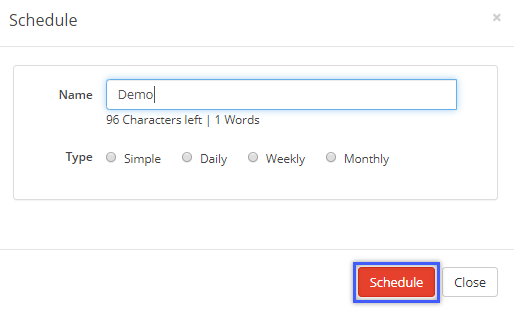
- Choose the required settings and click on Schedule.

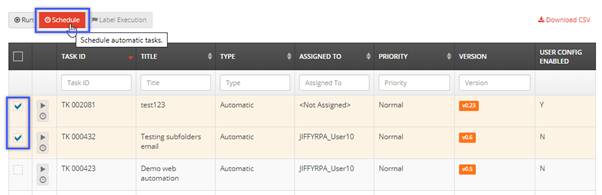
- Alternatively, to schedule multiple tasks to run at once, click on the checkboxes next to the TASK IDs of the respective tasks and then click on the Schedule button.
- The Schedule dialogue opens with an option to choose from the following types of schedulers.
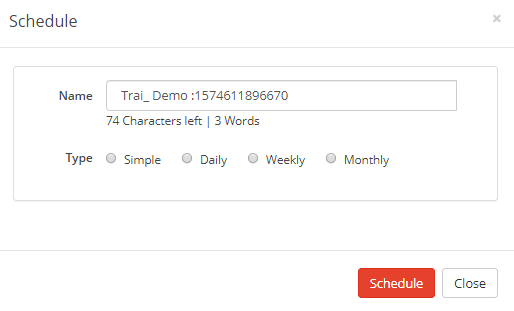
- Name: Name of the schedule. A default name is displayed in this field, which the user can edit according to the task.
- Type: For more details, refer - Types of Schedulers.
- Type the details and click on the Schedule button.
- Navigate to Task Execution > Run Task.
- Label level execution:
All the tasks that are tagged to a particular Label can be scheduled to run at once using Label execution.
Labels are used for the logical grouping of tasks. During scheduling, users can select all the tasks tagged to the same label in an environment for execution.
Do the following to schedule a label level execution:
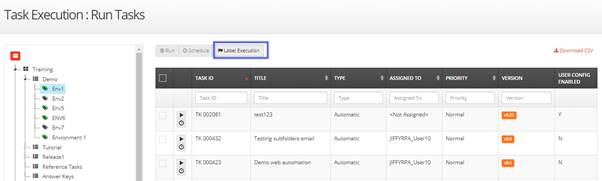
- Navigate to Task Execution > Run Task.
- Select the required Project > Release > Environment.

- Click on the Label Execution button.
- In the Label Execution window that opens, type the details.
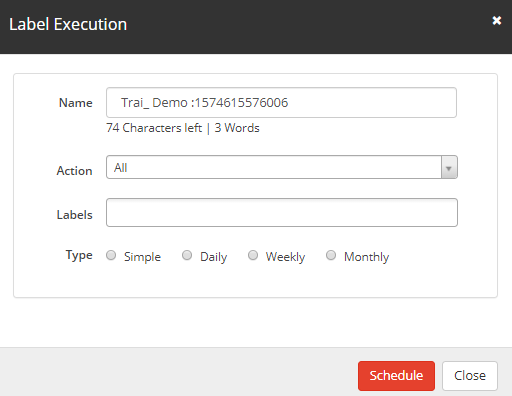
- Name: Name of the schedule. A default name is displayed in this field, which the user can edit according to the task.
- Action: When labels are selected two types of actions are possible:

- All: Executes the tasks that are tagged to all the selected labels.
- Any: Executes the tasks that are tagged to any one of the selected labels.
- If All option is selected and labels L1 and L2 are selected, only Task1 is scheduled.
- If Any option is selected and labels L1 and L2 are selected, then both Task1 and Task2 will be scheduled.
- Labels: In this dropdown, the names of the Labels available under an environment are displayed. The user can choose one or many of the available Labels.
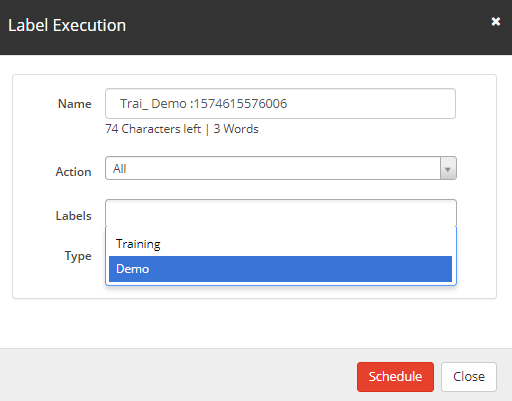
- Type: For more details, refer - Types of Schedulers.
- Navigate to Task Execution > Run Task.
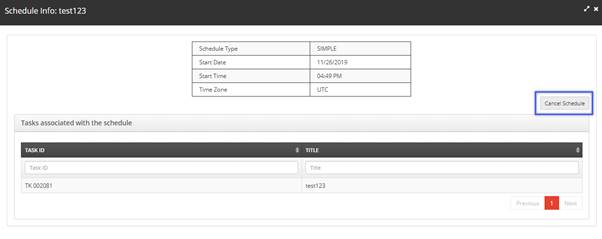
- View / Cancel Scheduled tasks:
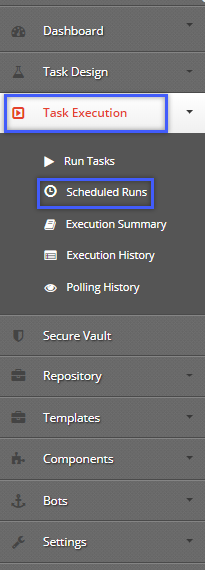
To view / cancel a scheduled task, do the following:- Navigate to Task Execution > Scheduled Runs.
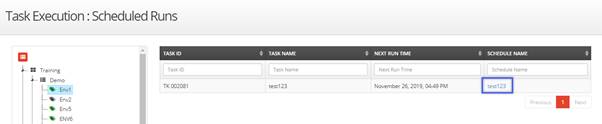
- Select the required Project > Release > Environment.
- Click on the Schedule Name of the task.
- In the Schedule Info window that appears, the schedule details are displayed.
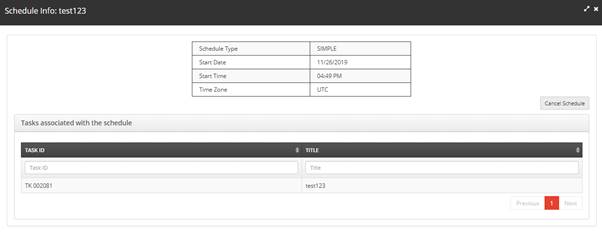
- To cancel the schedule, click on the Cancel Schedule button.
- Navigate to Task Execution > Scheduled Runs.
- Types of Schedulers:
- 4.1 Simple:
Tasks can be scheduled to run at a specific date and time.
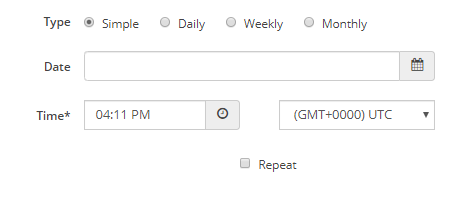
- Date: Date to run the task.
- Time: Time at which the task must run.
- Repeat: To schedule the task to repeat execution at a specific time interval.

- Repeat: Number of times the task must run in an interval.
- Mins: Number of minutes the interval lasts.
- 4.2 Daily:
Tasks can be scheduled to run everyday starting from a specific date and ending at a specific date.
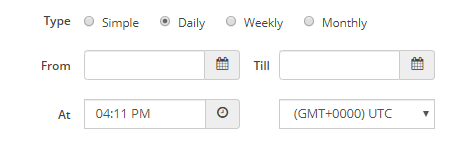
- From: Date to start the execution.
- Till: Date to end the execution.
- At: Time to start the execution.
- Time zone dropdown: The time zone to follow during the task execution.
- 4.3 Weekly:
Tasks can be scheduled to run on specific days of the week starting from a specific date and ending at a specific date.

- Day Picker: Pick on what days the task must run.
- From: Date to start the execution.
- Till: Date to end the execution.
- At: Time to start the execution.
- Time zone dropdown: The time zone to follow during the task execution.
- 4.4 Monthly:
Tasks can be scheduled to run on specific days of the month starting from a specific date and ending at a specific date.

- From: Date to start the execution.
- Till: Date to end the execution.
- On: The day of the month that the task must execute on.
- At: Time to start the execution.
- Time zone dropdown: The time zone to follow during the task execution.
Note: To schedule a particular task to run at multiple times on a periodic basis (Daily, Weekly or Monthly), the user can create multiple schedules. Note: If a task is scheduled to run before the server time, it will be scheduled to run on the next day. If a task is scheduled to run after the server time, it will be scheduled to run on the same day. If the server time and the user time are both the same, then there will be no difference. - 4.1 Simple: