Client/BOT Installation
Jiffy Client/BOT Installation on Windows:
Requirements:
Supported Operating System Versions:
The following OS versions are supported:
- Windows 10
- Windows Server 2016
- Windows Server 2019
- Windows Server 2016 Datacentre
Pre-conditions:
- Make sure that the Jiffy server is installed and the BOT machine is configured on the page before installing the windows BOT.
- The windows machine should be new with no software pre-installed other than what is mentioned in the below sections.
- Windows should have the latest OS (Operating System) updates installed (Run a Windows OS update before installing Jiffy BOT)
- Administrator access is required in the windows machine.
- Antivirus should not block jiffy software from running.
- The BOT user should have read/write access to the following folders after installation is completed:
- C:\jiffyservice
- C:\Python27
- C:\Program Files (x86)\O3
- C:\Program Files (x86)\Option3
- C:\Program Files (x86)\IronPython 2.7
For further details on Hardware and Software requirements, refer - Pre-requisites for Jiffy Client/Bot Installation
Installing Jiffy Client/Jiffy BOT:
Jiffy Client/BOT is installed in two stages:
- Setting up the Jiffy Client Pre-requisites
- Setting up the Jiffy Client Bot
Setting up the Jiffy Client Pre-requisites:
- Run JiffyClientPrerequisites.exe file as an Administrator.
(Right-click on the JiffyClientPrerequisites.exe file and select Run as Administrator option from the menu)

Note: The versions in the screenshots varies based on the installation version.
- Click on the Install button
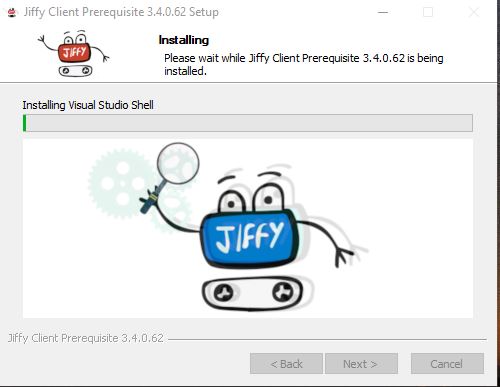
- Let the installation continue until the SharePoint installation begins.
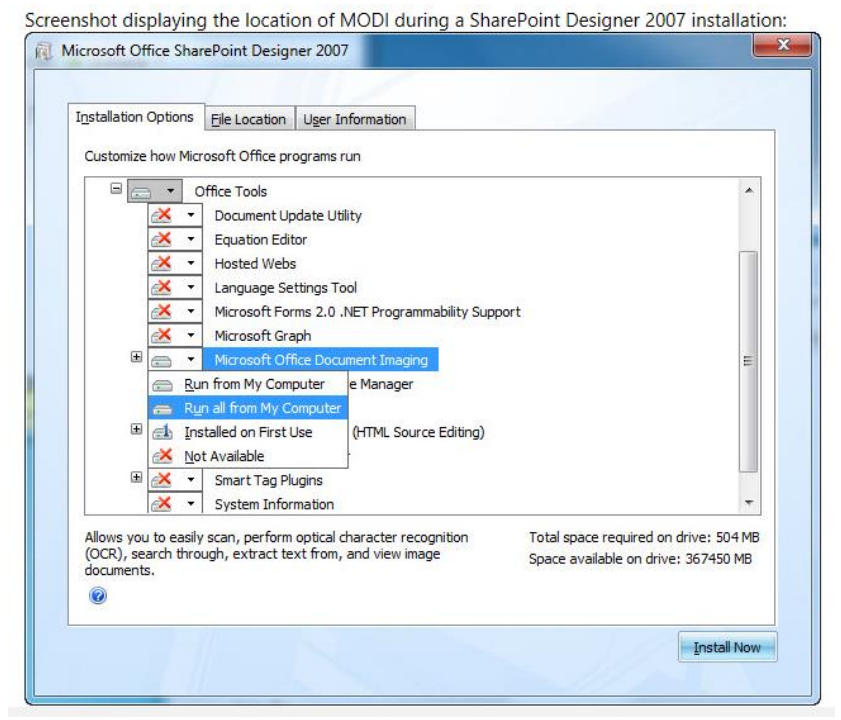
SharePoint customization:
Follow the below steps to customize SharePoint installation which reduces the disk usage.
- Review, and then accept the software license.
- Click Customize button to open the Installation Options tab.
- In the Customize how Micorsoft Office Progarms run setion, click the down arrow and select Not Available option for these three sections: Microsoft Office SharePoint Designer, Office Shared Features, Office Tools.
- Expand Office Tools.
- Click the down arrow for the Microsoft Office Document Imaging option, and then select Run all from My Computer option.
- Click Install Now button, and then click Close.
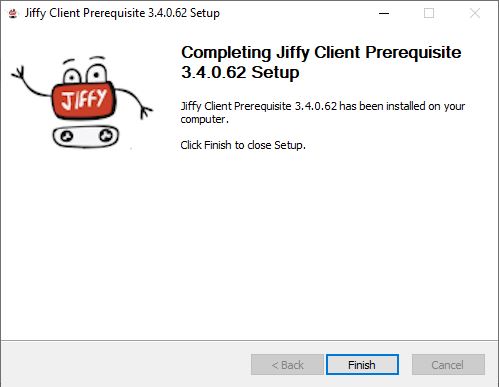
-
Click the Finish button.
Setting up the Jiffy Client:
- Run JiffyClient.exe file as an Administrator. (Right-click on the JiffyClient.exe file and select Run as Administrator option from the menu).
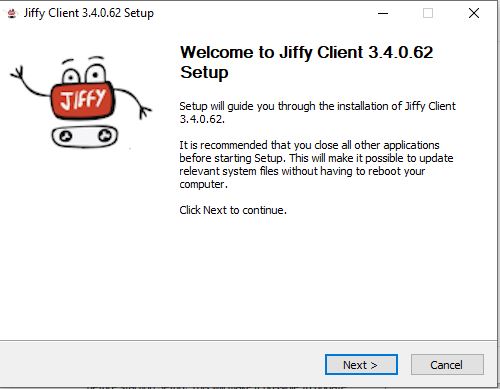
- Click on the Install button.
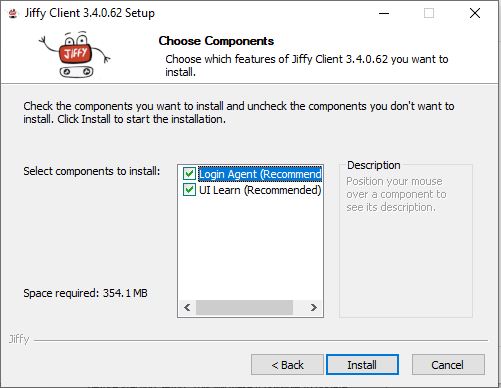
- The following window appears. Select the components to be installed.
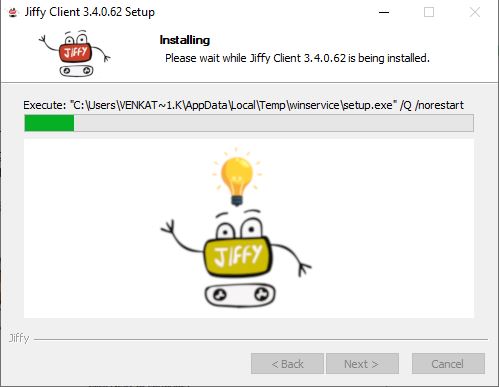
- Let the installation continue.
- The last screen shows the following prompt. Type the Jiffy Server IP and the Jiffy client IP (network allocated IP) when prompted. Press the Enter key to choose the default values.

- To run the Bot machine in RPASS mode, select RPASS and update Bot machine IP and click on the Submit button.

- Press the Enter key to complete the Jiffy installation process.
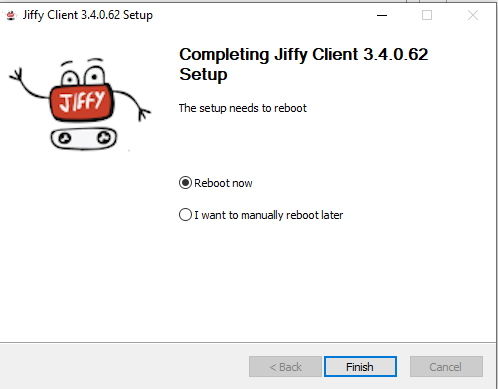
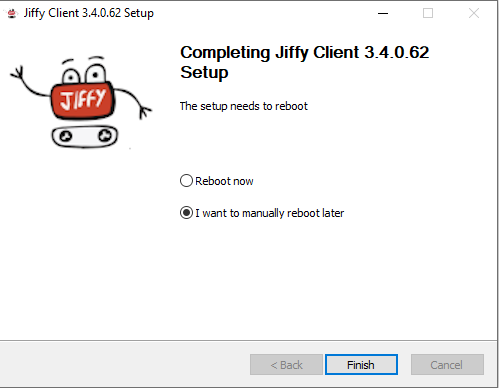
- Select the Reboot now check box or I want to manually reboot later check box based on your necessity and click on the Finish button.
Additional Configurations:
Configuring UI Learn:
- Goto C:\Program Files (x86)\O3\JiffyUILearn\JiffyUI Familiarisation.exe and open the file in Notepad as an administrator.
- Locate this tag: add key=““HostURL”” value=“”<server url>””
- Give Jiffyserver URL in the value field and save it.
Configuring Windows Services:
- Goto C:\Program Files (x86)\Option3\JiffyWinService\JiffyWinService.exe and open the file in Notepad as an administrator.
- Locate this tag: add key=““JiffyURL”” value=“”<server url>””
- Give Jiffy URL in the value field and save it.
Upgrading Jiffy Client:
Requirements:
- All instances of JiffyUILearn and Jiffy service should be stopped.
- Make sure that the pre-requisite executable (JiffyClientPrerequisites<version>.exe) is run for updating new 3.2 specific pre-requisite packages.
- If any of the packages already exists, then the default Repair option will be done internally by the installer.
Steps to upgrade Jiffy Client:
- Download the JiffyClient<version>.exe file from FTP into the client desktop.
- Run or double-click the JiffyClient<version>.exe file and follow instructions on the screen to upgrade Jiffy Client.
Troubleshooting:
If any issues are encountered after a client upgrade, uninstall the following entries manually from the control panel and rerun the JiffyClient exe.
- JiffyUILearn
- JiffyWinService
- JPopeye
- JiffyLoginAgent